
In the age of smart homes, voice assistants have become an integral part of our daily lives. They help us manage our schedules, control smart devices, and even entertain us with jokes and trivia. While there are many commercial options available, creating your own DIY voice assistant can be a rewarding and educational experience. Not only does it give you a deeper understanding of how these systems work, but it also allows you to customize the assistant to suit your specific needs. In this blog post, we’ll explore how you can create a DIY voice assistant for fun, using readily available tools and technologies.
Understanding the Basics
Before diving into the creation process, it’s essential to understand the basic components of a voice assistant. At its core, a voice assistant is a software application that can understand and respond to voice commands. It typically consists of the following components:
1. Speech Recognition: This component converts spoken language into text. Popular libraries for speech recognition include Google’s Speech-to-Text API and CMU Sphinx.
2. Natural Language Processing (NLP): Once the speech is converted to text, NLP is used to understand the intent behind the words. Libraries like NLTK and spaCy are commonly used for this purpose.
3. Response Generation: Based on the understood intent, the assistant generates a response. This could be a simple text response or an action, like turning on a light.
4. Text-to-Speech (TTS): Finally, the response is converted back into speech using TTS libraries like Google’s Text-to-Speech API or pyttsx3.
Setting Up Your Environment
To start building your DIY voice assistant, you’ll need a computer with a microphone and speakers. You’ll also need to install some software tools. Here’s a basic setup guide:
– Python: Most voice assistant projects use Python due to its extensive libraries and ease of use. Make sure you have Python installed on your system.
– Speech Recognition Library: Install a library like `SpeechRecognition` for converting speech to text. You can do this using pip:
“`
pip install SpeechRecognition
“`
– Text-to-Speech Library: For TTS, you can use `pyttsx3`, which works offline and is easy to set up:
“`
pip install pyttsx3
“`
– NLP Library: Install an NLP library like `nltk` or `spacy` to process and understand the text:
“`
pip install nltk
“`
Building the Voice Assistant
Now that your environment is set up, let’s start building the voice assistant. Here’s a step-by-step guide:
1. Capture Audio Input: Use the microphone to capture audio input from the user. The `SpeechRecognition` library provides a simple interface for this.
2. Convert Speech to Text: Use the speech recognition library to convert the captured audio into text. This text will be processed to understand the user’s intent.
3. Process the Text: Use NLP techniques to analyze the text and determine the user’s intent. This could involve simple keyword matching or more complex intent recognition using machine learning models.
4. Generate a Response: Based on the understood intent, generate an appropriate response. This could be a simple text response or an action, like controlling a smart device.
5. Convert Text to Speech: Use the TTS library to convert the response text back into speech, which is then played back to the user.
Adding Fun Features
One of the best parts of creating a DIY voice assistant is the ability to add custom features. Here are a few ideas to make your assistant more fun and engaging:
– Jokes and Trivia: Program your assistant to tell jokes or share interesting trivia. You can use online APIs to fetch jokes or trivia questions.
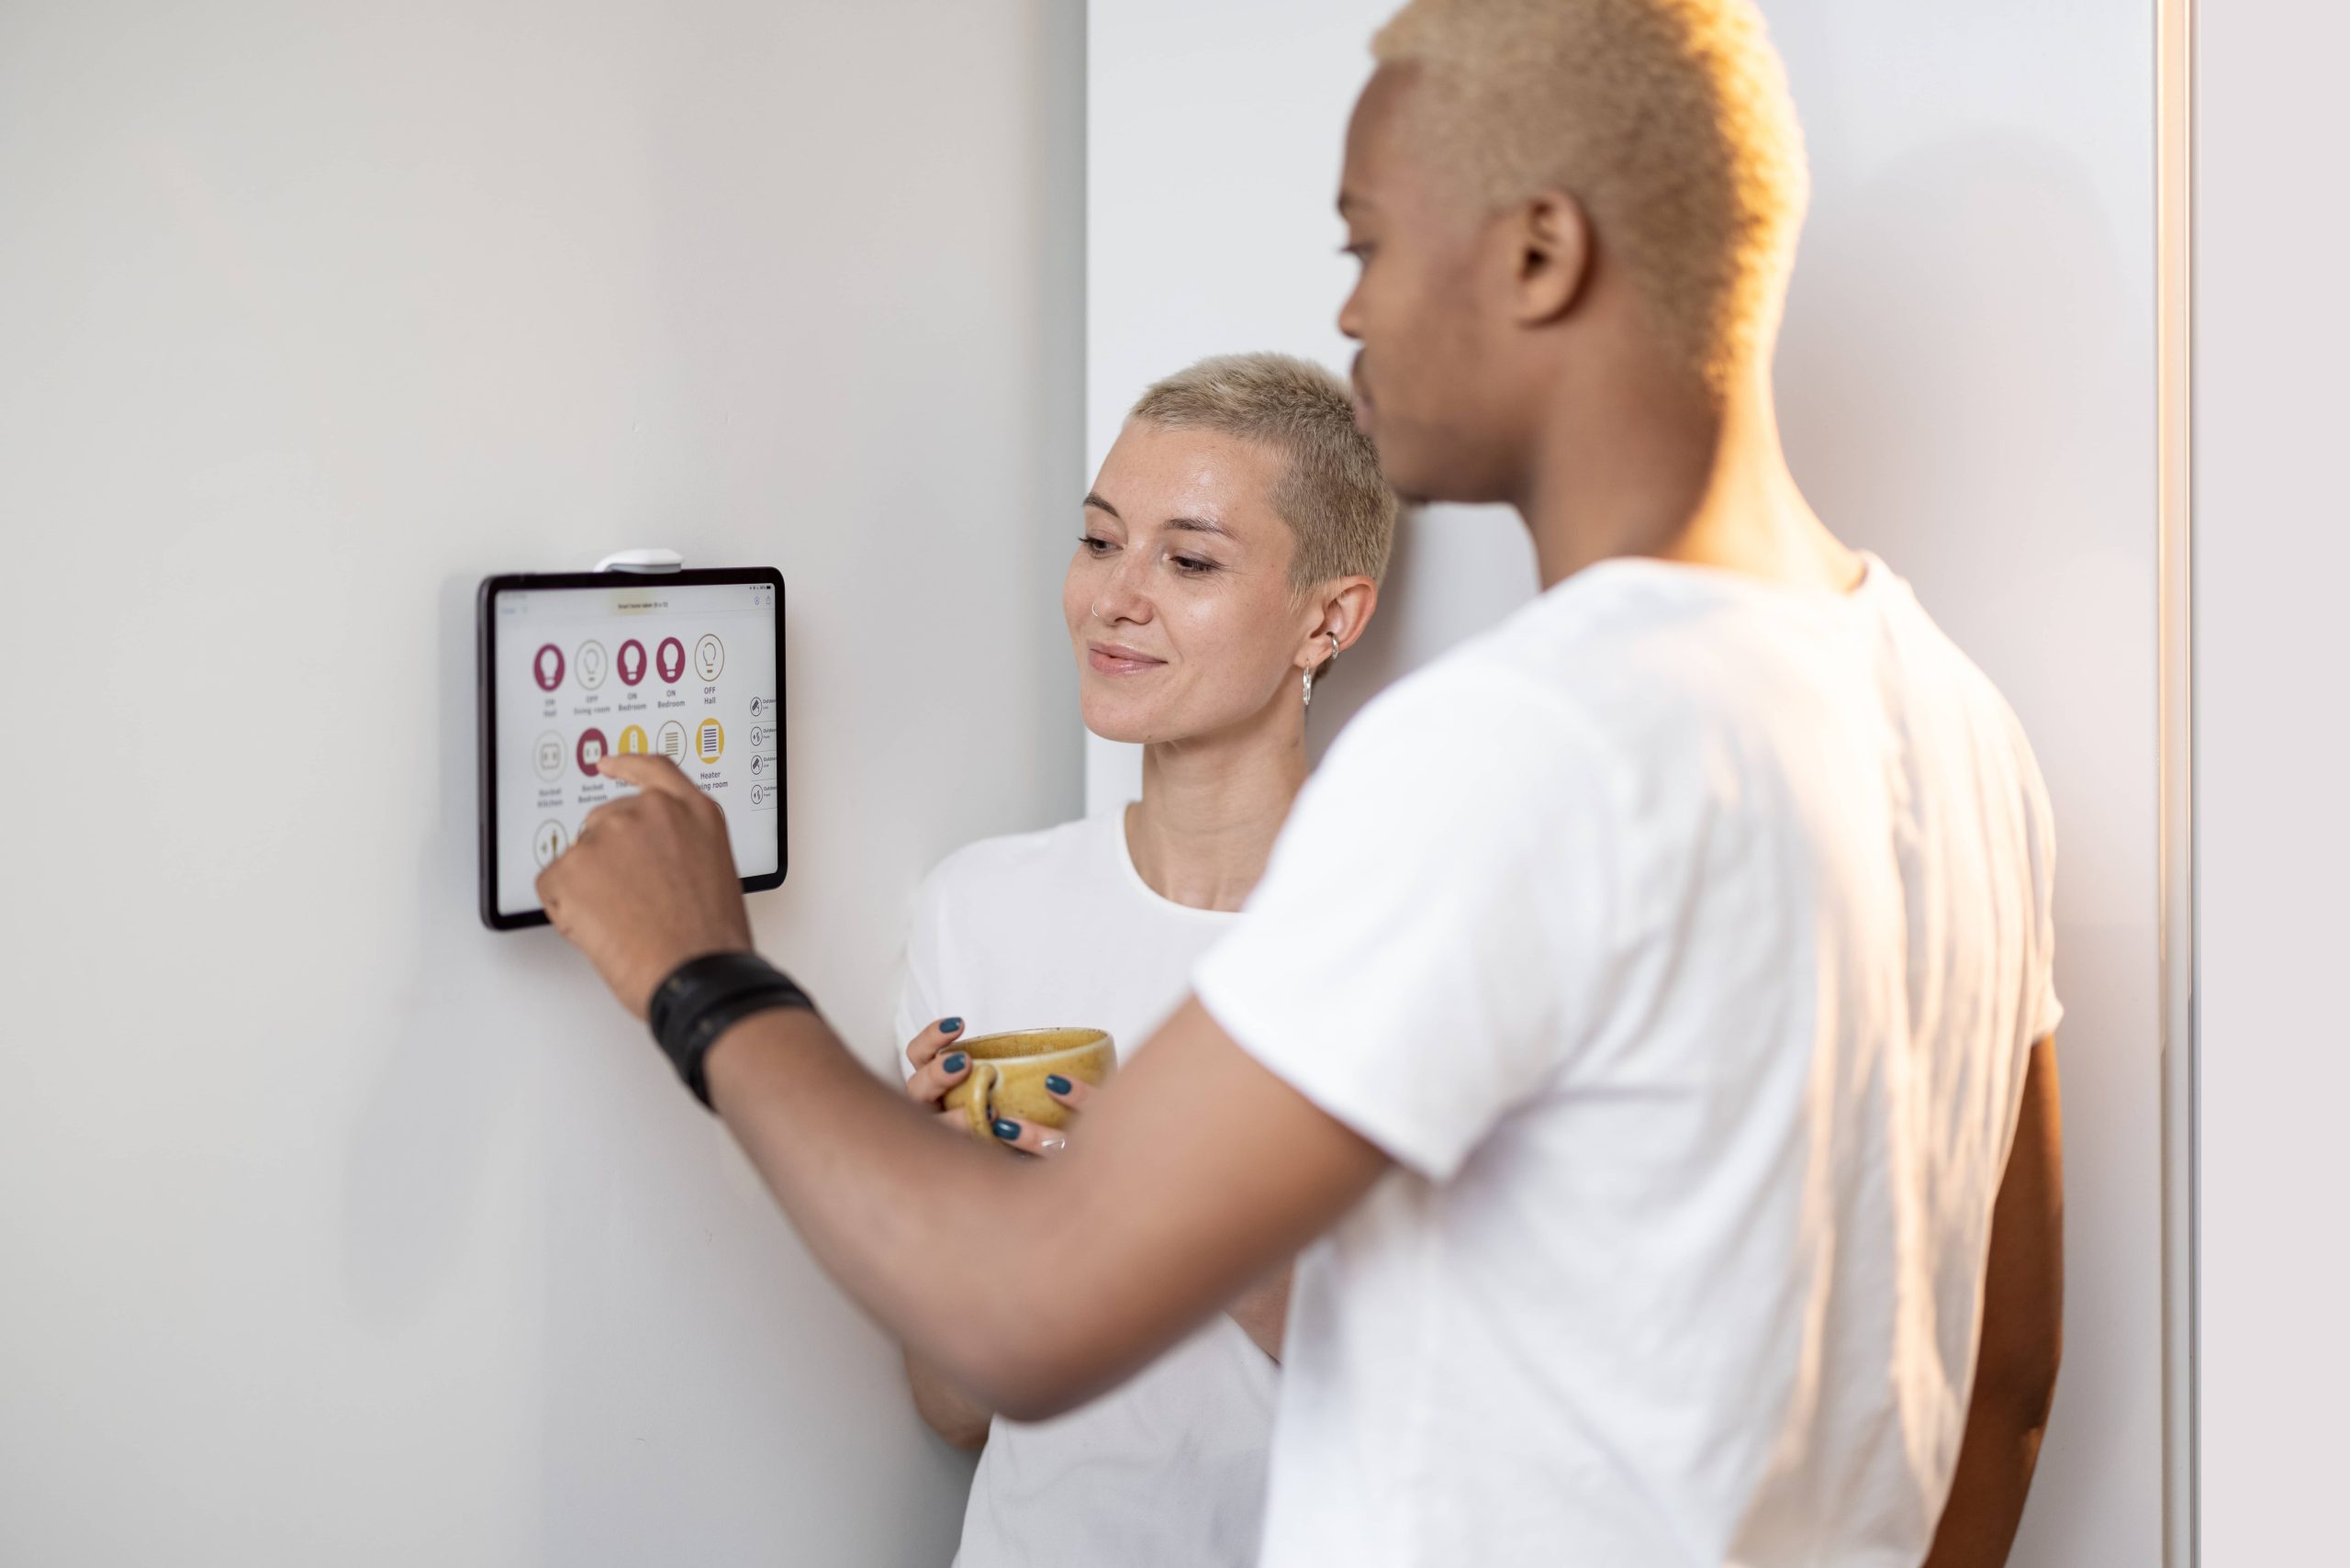
– Smart Home Integration: If you have smart home devices, integrate them with your assistant. Use libraries like `homeassistant` to control lights, thermostats, and more.
– Personalized Greetings: Make your assistant greet you with personalized messages based on the time of day or your calendar events.
– Music and Podcasts: Add functionality to play music or podcasts. You can use APIs from services like Spotify or Apple Music.
Conclusion
Creating a DIY voice assistant is a fun and educational project that can enhance your understanding of speech recognition, natural language processing, and smart home technologies. With the right tools and a bit of creativity, you can build an assistant that not only performs useful tasks but also entertains and engages you. Whether you’re a tech enthusiast or just looking for a new hobby, building a voice assistant is a rewarding experience that can bring a touch of magic to your smart home. So, gather your tools, unleash your creativity, and start building your very own voice assistant today!


