
Gardening is more than just cultivating plants; it’s about creating a personal haven where nature and design converge. One of the most striking ways to enhance your garden landscape is by integrating natural stone pathways. These not only provide functional routes to navigate through your garden but also add an aesthetic touch that complements the natural beauty of your outdoor space.
Why Choose Natural Stone?
Natural stone is a timeless choice for garden pathways due to its durability, aesthetics, and versatility. Let’s delve into some reasons why natural stone should be your go-to material:
1. Aesthetic Appeal: Stones such as slate, limestone, and sandstone offer a variety of colors and textures that can blend seamlessly into a garden environment. Whether you’re aiming for a rustic look or something more contemporary, natural stone can provide the aesthetic you desire.
2. Durability: Unlike concrete or bricks, natural stone can withstand the elements, aging gracefully and often looking better over time. Its robustness ensures your pathways will last for years without significant wear or damage.
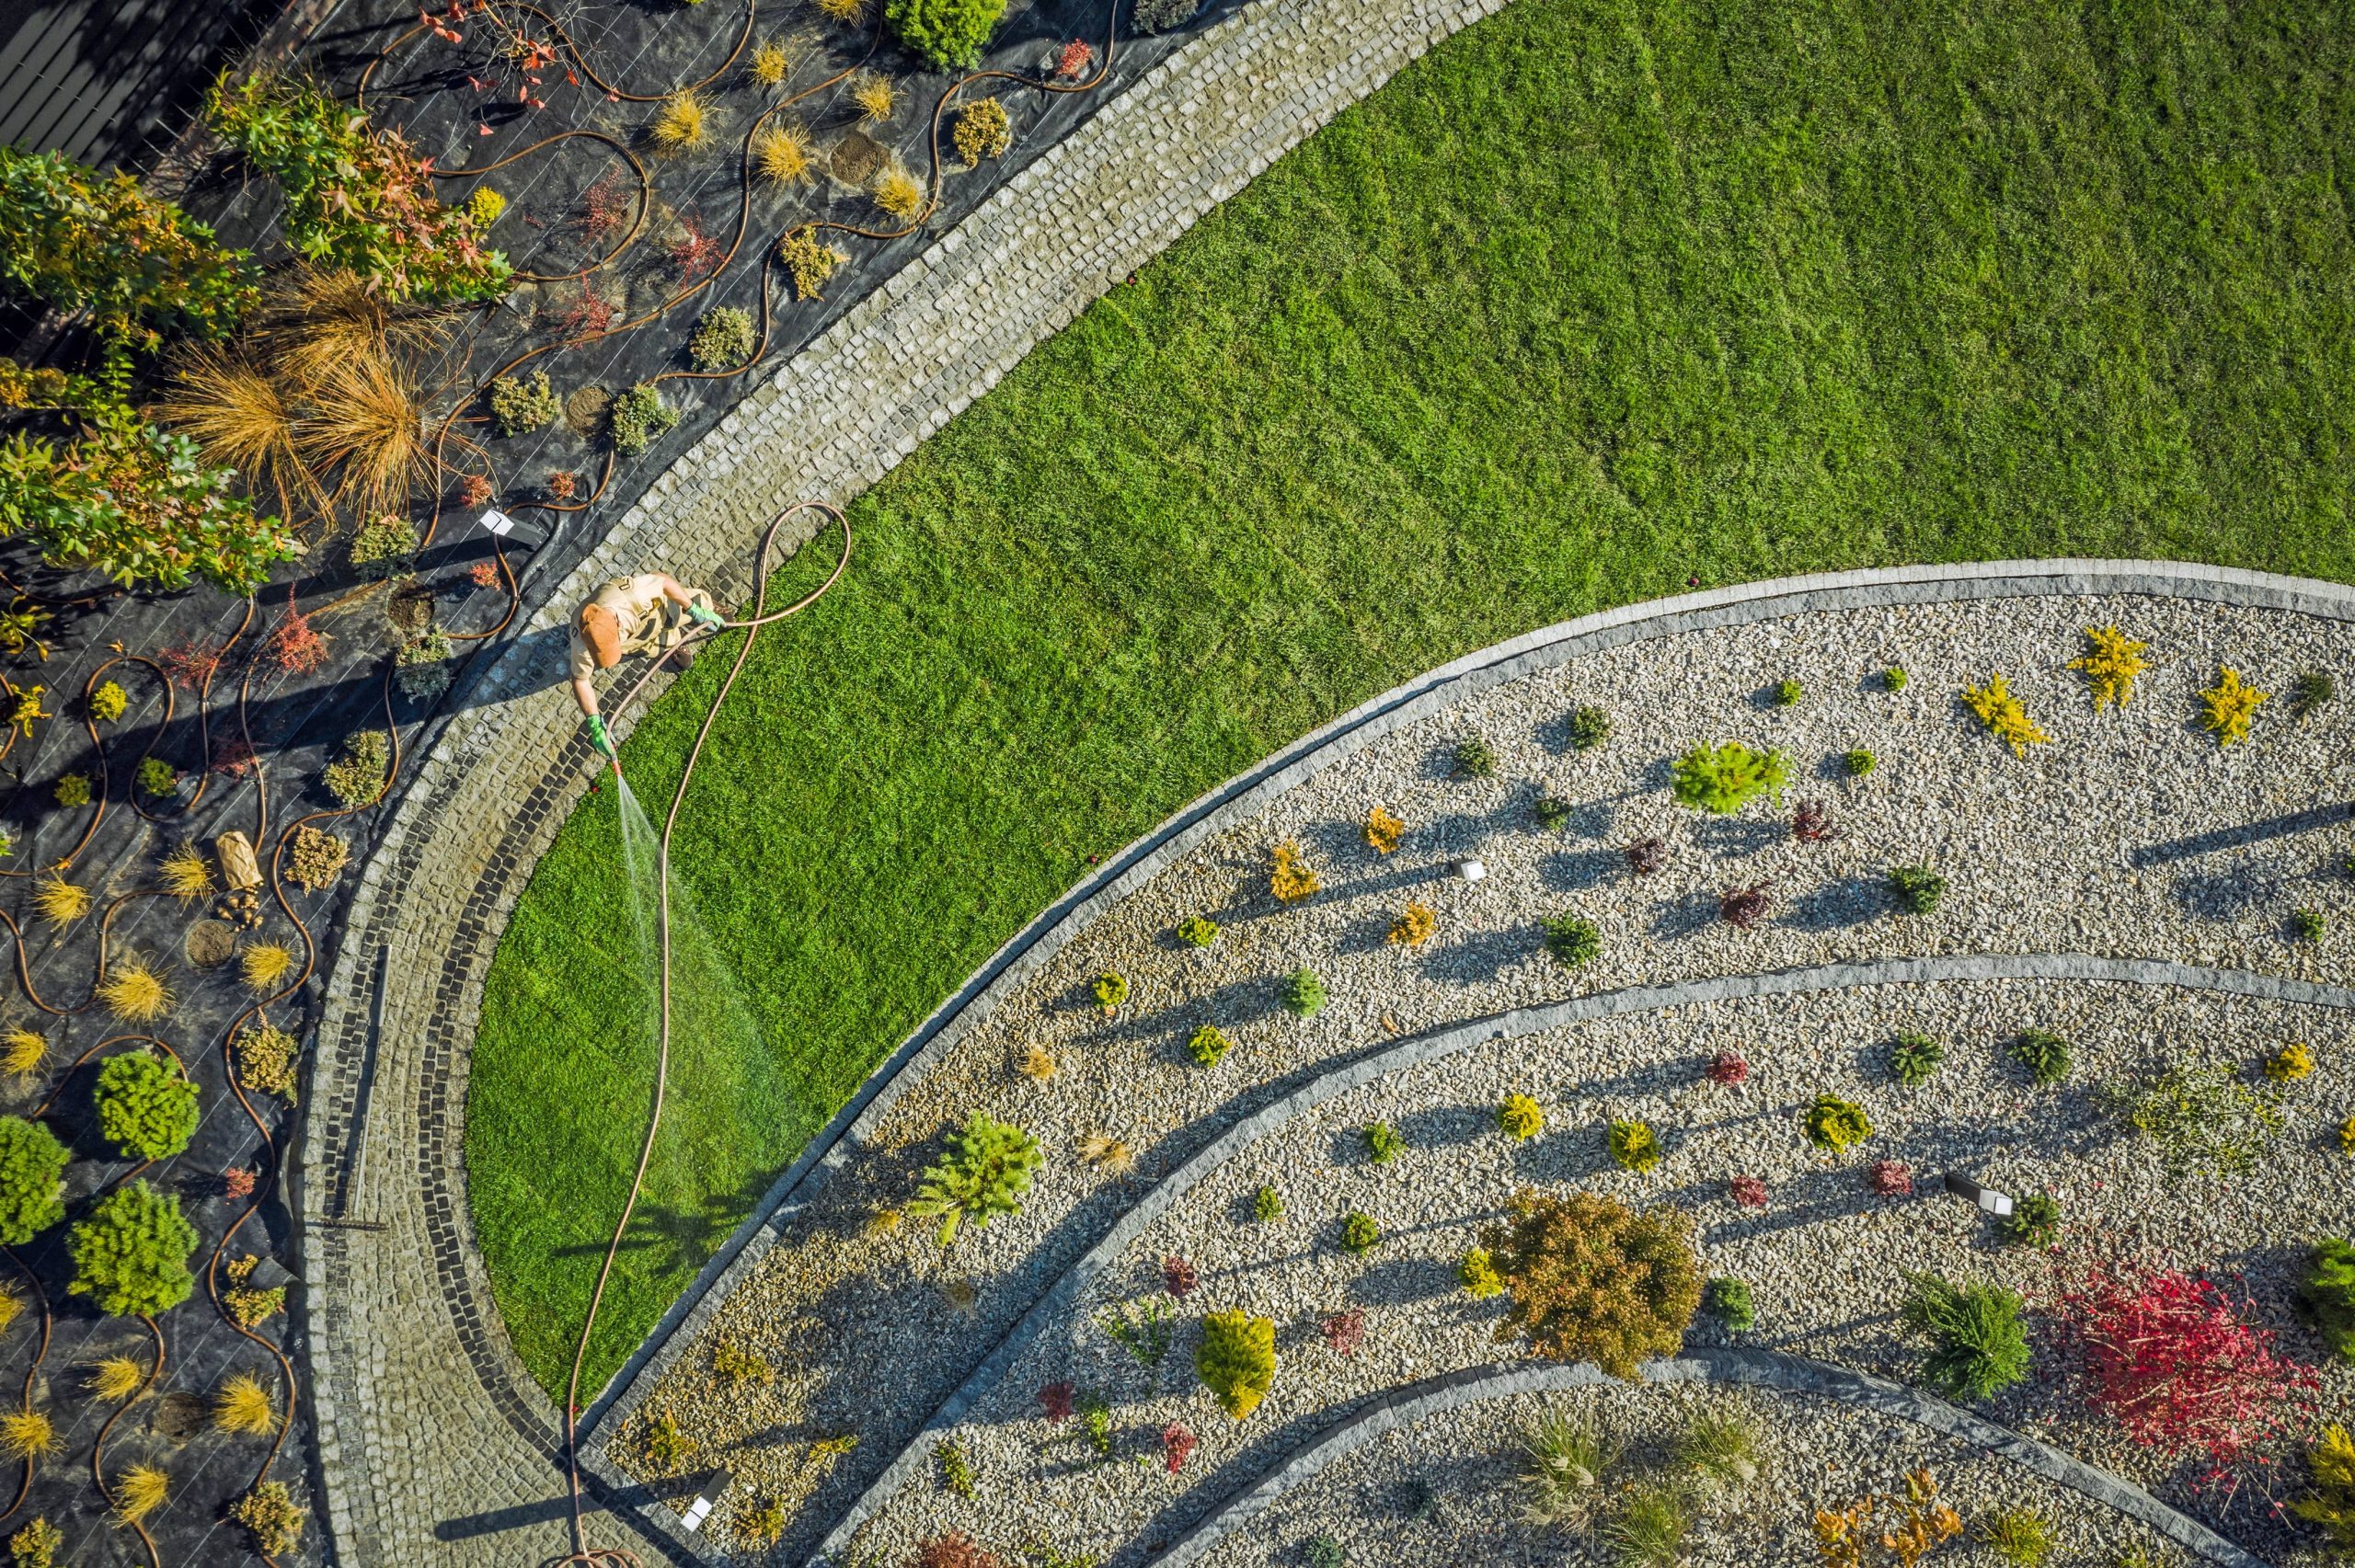
3. Versatility: Natural stone can be customized to fit any garden layout. You can create meandering paths that draw the eye and enhance the sense of exploration in your garden, or you can design direct routes that connect key areas efficiently.
4. Low Maintenance: Once installed, stone pathways require minimal upkeep. They do not crack or fade easily and can be easily cleaned with water and mild soap.
Planning Your Pathway
Before laying down stones, a carefully considered plan will save you time and effort in the long run. Here’s a step-by-step guide to help you start:
1. Define the Path’s Purpose: Consider the function of the pathway. Is it purely decorative, or does it serve a practical purpose like connecting different areas of the garden? This will affect its width, the type of stone you use, and its overall design.
2. Map It Out: Use a garden hose or rope to outline where the path will go. Walk along it to get a feel for the path and make adjustments as needed. Ensure that it complements the natural flow of your garden.
3. Choose Your Stone: Depending on your garden design and personal taste, select a suitable stone. Larger stones can create a bold, defined pathway, while smaller, irregular stones can give a more rustic, nuanced look.
4. Calculate Materials: Measure the dimensions of your proposed path to calculate how much stone you will need. Don’t forget to include extra stones for cutting or varying sizes.
Building the Pathway
Once you’ve planned and prepared, you can begin constructing your pathway. The process involves several crucial steps:
1. Excavate the Pathway: Dig to a depth of about 4 to 6 inches along your marked path. This depth allows for a sub-base and your stones to sit level with the ground, avoiding tripping hazards.
2. Lay the Foundation: Fill the excavation with a layer of crushed stone or gravel, about 2 to 3 inches thick, to provide a stable base. Compact the layer using a tamper to ensure stability.
3. Install Edge Restraints: Installing edging along your pathway will help keep your stones in place and preserve the shape of your path.
4. Set the Stones: Begin laying out your stones according to your design, starting with the largest pieces. Adjust smaller stones to fit the gaps and maintain consistency in spacing. Ensure that each stone is stable and level with the others.
5. Fill the Gaps: Use fine gravel, sand, or soil to fill the gaps between the stones. Your choice of filler can influence the path’s look, with gravel giving a crisp outline and soil allowing plants to grow between the stones.
6. Final Touches: Once everything is in place, hose down the path to settle the filler material and clean off any stone dust. Check for wobbling stones and adjust them as needed.
Maintaining Your Pathway
While natural stone pathways are notably low-maintenance, periodic care will ensure their enduring beauty:
1. Weed Control: Weeds tend to grow between stones over time, so regularly pulling them can keep your path looking neat. To further minimize weeds, consider using a weed barrier under the base layer or applying a natural herbicide.
2. Cleaning: A gentle wash with water occasionally will prevent dirt build-up. For tough stains, use a mild detergent and a stiff brush.
3. Repair as Needed: Inspect your path for any shifting stones or erosion, particularly after heavy rains. Promptly resetting stones and maintaining the fill material will prevent larger issues.
Embrace Your Creative Side
A natural stone pathway is more than just a route in your garden—it’s a statement of your style and an invitation to explore. Whether you prefer a structured, defined path or a loose, organic trail, embracing natural stone will undoubtedly enhance the visual and practical appeal of your garden. Remember, each stone is unique and carries its own history, adding a unique character to your outdoor space.
Start small, experiment with different styles and materials, and watch how simply adding a pathway can transform your gardening experience. By doing so, you are not only improving accessibility and aesthetic appeal but also crafting an environment that invites contemplation and appreciation of the natural world.


