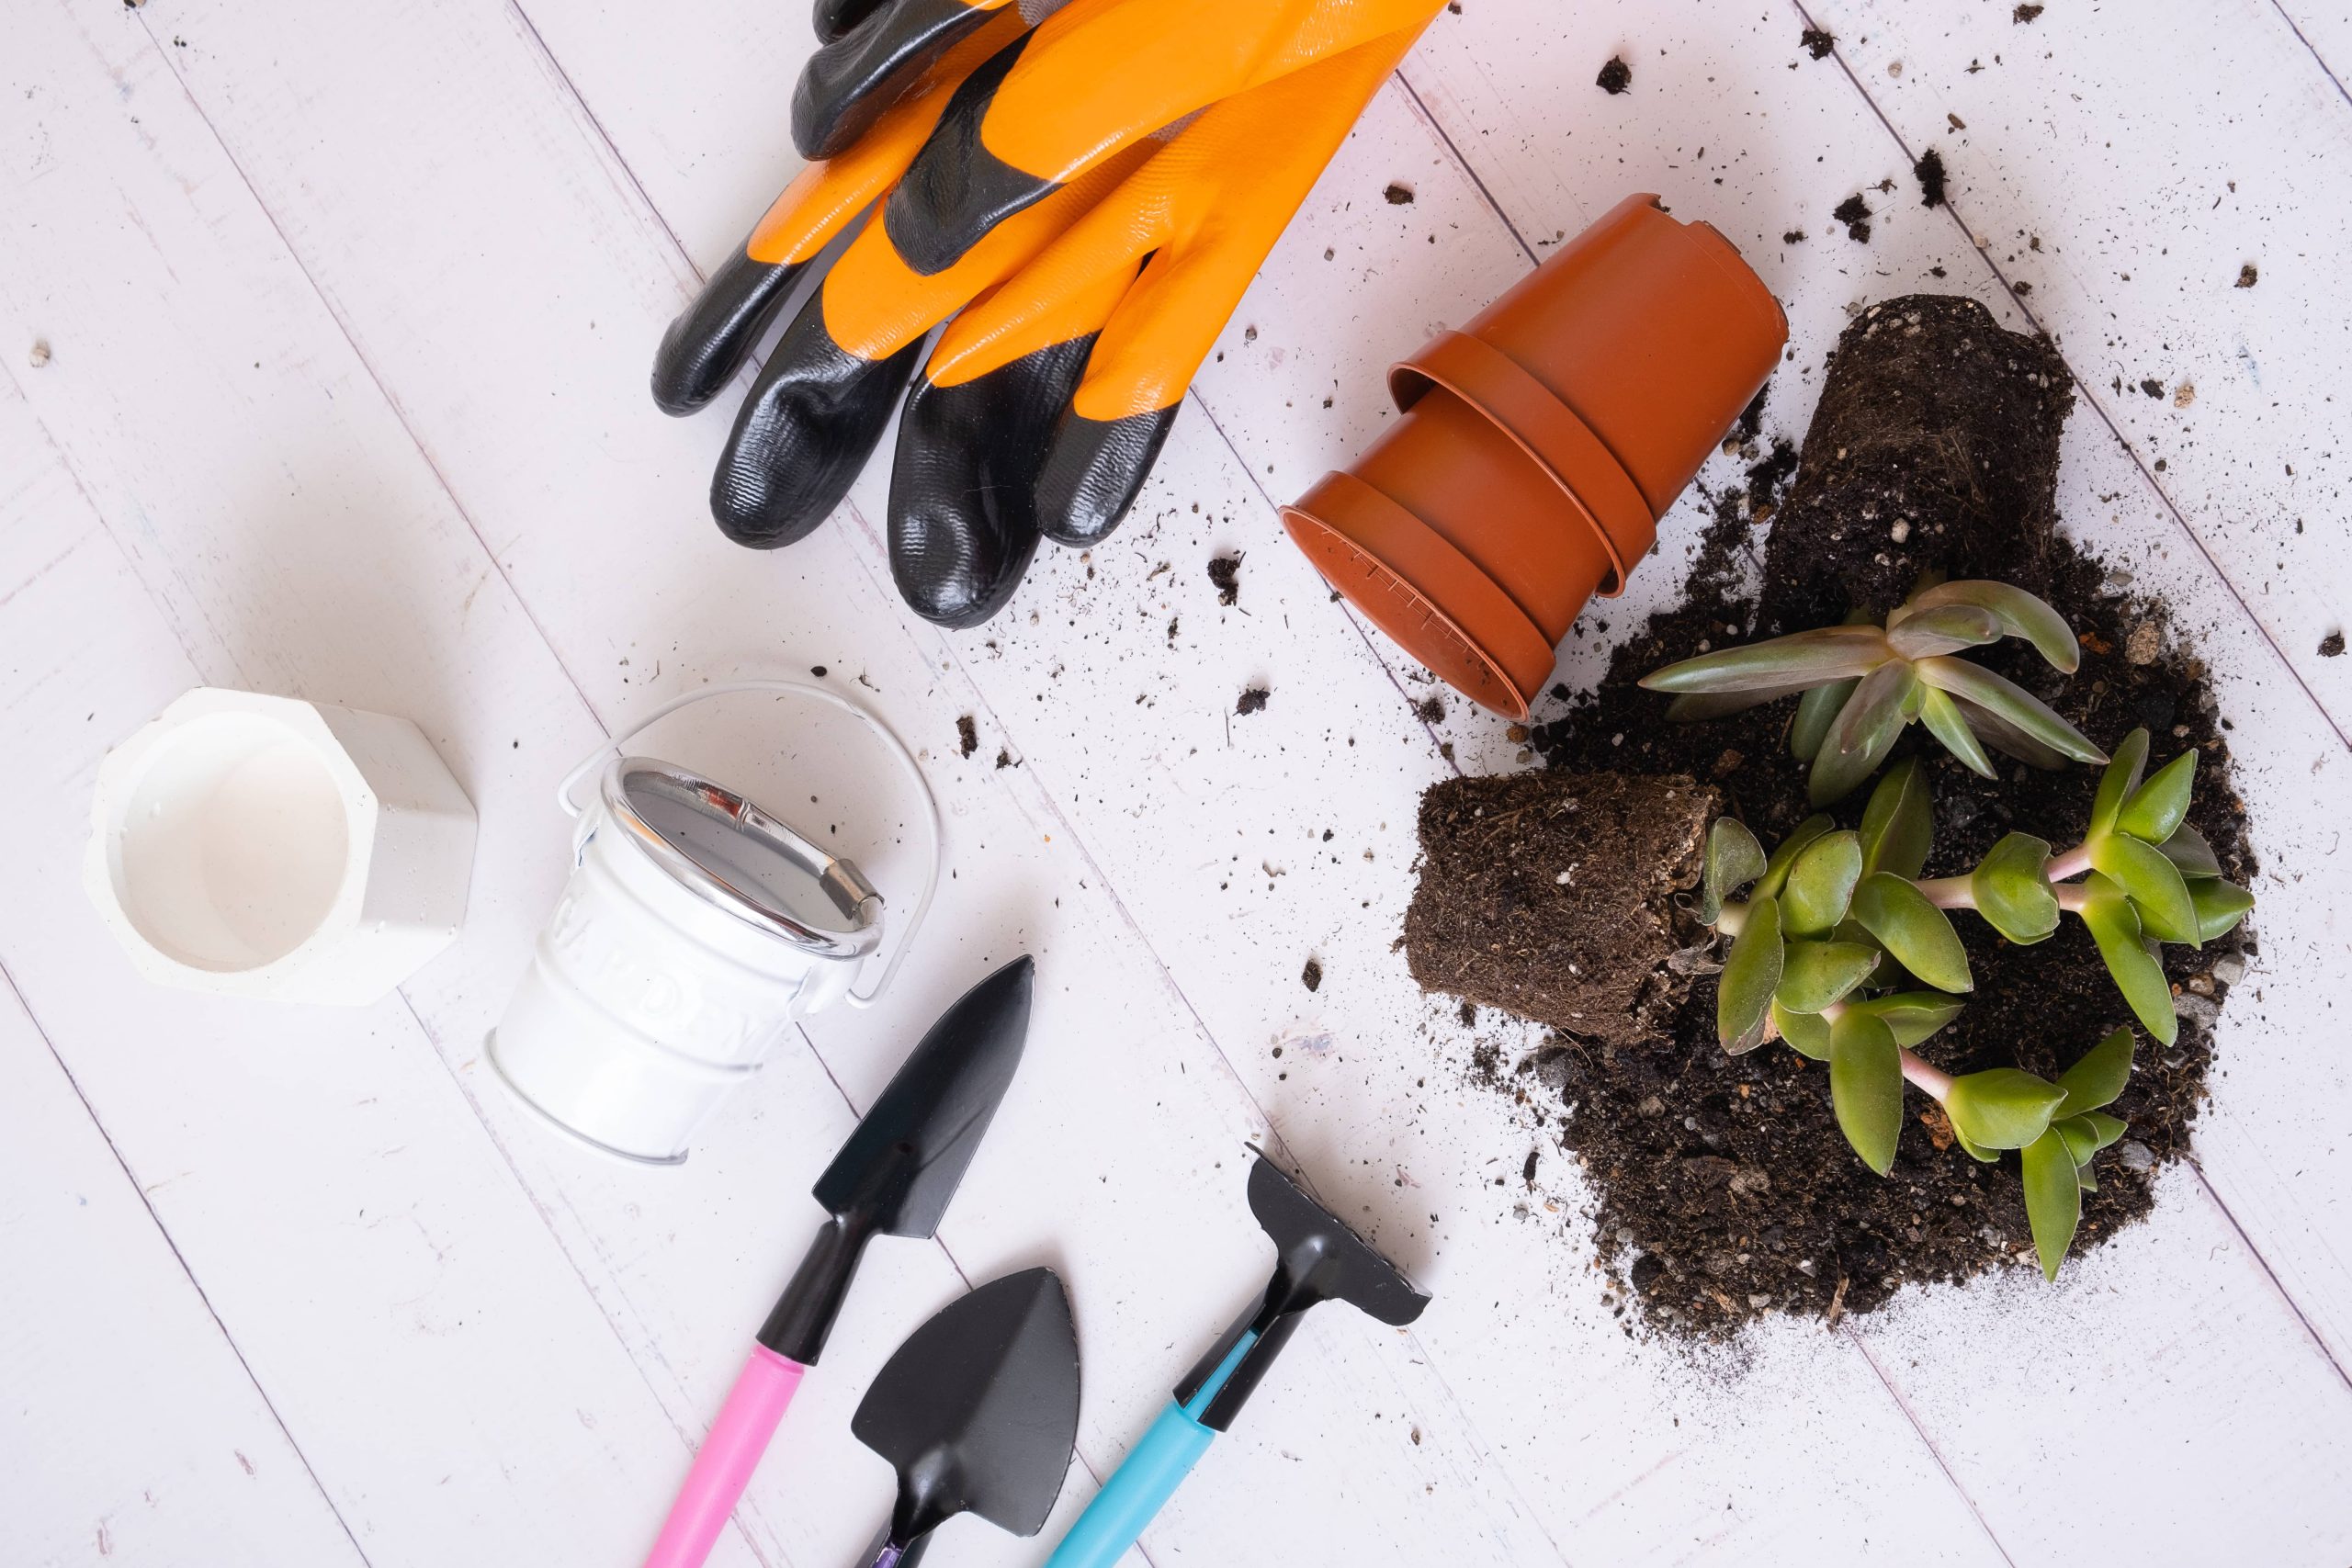
Gardening is much more than a hobby; it’s a passion that breathes life into our homes and surroundings. Whether you’re trying to grow a vibrant herb garden, succulent sanctuary, or a colorful array of flowers, the container you choose to plant them in can significantly impact both plant health and garden aesthetics. Today, I’m excited to share with you a detailed guide on creating your own concrete planters—simple, durable, and endlessly customizable for your garden.
Concrete planters are a fantastic choice for several reasons. They’re sturdy, elegant, and can withstand the elements, making them perfect for outdoor gardening. Plus, by making them yourself, you have full control over their size, shape, and design, allowing your creativity to shine.
Materials and Tools You’ll Need
Before we dive into the process, gather the necessary supplies and tools. Here’s what you will need:
Materials:
1. Concrete Mix: Look for a fine concrete mix or a special kind that is specifically for casting.
2. Water: Essential for mixing with the concrete to achieve the right consistency.
3. Containers: Two containers for each planter—one for the outer mold and a smaller one for the inner mold.
4. Cooking Spray or Oil: To coat the molds for easy removal once the concrete is set.
5. Wearable Protective Gear: Such as gloves and a mask, to protect hands and prevent inhalation of fine particles.
6. Sandpaper: For smoothing the surface of your finished planters.
Tools:
1. Stirring Stick: For mixing the concrete.
2. Level: To ensure your planters don’t set with tilted angles.
3. Bucket or Tray: To mix the concrete.
Step-by-Step Guide
Step 1: Prepare Your Molds
Begin by choosing your molds. Old plastic containers, buckets, or even household items like bowls can be used. The larger container will serve as the outer mold determining the planter’s outside shape, while a smaller one inside creates the cavity where the soil and plants will go.
Coat the inside of the large mold and the outside of the smaller mold with cooking spray or oil for easy release once the concrete dries.
Step 2: Mix the Concrete
In a clean bucket or tray, combine the concrete mix with water according to package instructions. Stir it with your stirring stick until it reaches a consistency similar to thick pancake batter. Be sure there are no dry patches or lumps.
Pro Tip: Work in a well-ventilated area to avoid inhaling dust from the dry concrete mix.
Step 3: Pouring and Setting
Begin by pouring a layer of concrete into the bottom of the larger mold to form a sturdy base for your planter. Once the base is set, press the smaller mold into the concrete, centering it.
Fill in the space between the molds with the remaining concrete mix. Periodically tap the molds lightly or shake them gently; this removes air bubbles that could weaken your finished planter.
Use a level to ensure that the top surface is even. Allow the planter to set for about 24 to 48 hours—longer if the weather is cool or humid.
Step 4: Demolding
Once the concrete has set, gently remove the mold. Start by loosening the smaller, inner mold first. Once loosened, carefully remove the larger outer mold. The planters should come out easily if you’ve used enough oil.
Step 5: Finishing Touches
Examine your concrete planter for any rough edges or sharp corners. Smooth these areas down with sandpaper until you achieve the desired look.
Don’t worry if your planter has some imperfections; these add character and authenticity. If you wish, you can paint or stain your planter to match your garden’s aesthetic.
Step 6: Plant and Enjoy
After curing, it’s time to fill your beautiful new planters with your favorite soil and plants. Make sure to add small stones or pebbles at the bottom for drainage if your planter doesn’t have drainage holes.
Tips for Success
– Customization: Experiment with various shapes by using different molds for unique designs. You can also add color to your planters by mixing in concrete pigment.
– Drainage: If you’ve omitted drainage holes, consider using plants that require less watering, or watering cautiously to prevent root rot.
– Sealing: If you plan to use paint or other decorations, apply a waterproof sealant to the concrete to protect your design.
Why Choose DIY Concrete Planters?
Creating your own concrete planters isn’t just about saving money. It’s about unleashing your creativity, customizing your garden’s look, and feeling the satisfaction of crafting something beautiful and functional with your hands. The personal touch you add to each piece will resonate throughout your garden, offering a steady foundation for your green oasis to thrive.
Concrete planters offer endless possibilities, so don’t hold back on innovation. From sophisticated minimalism to bold artistic designs, the choice is yours to create. So next time your garden needs a fresh look, or plants need a new home, remember you have the power to craft the perfect solution right at your fingertips. Happy planting!


