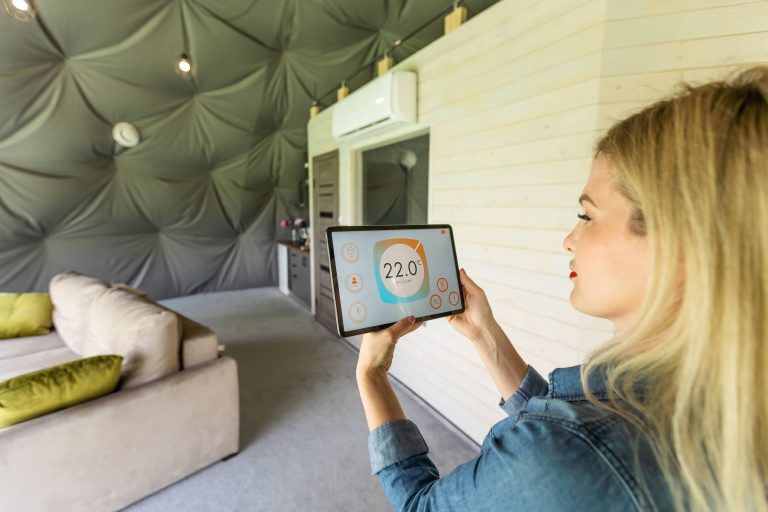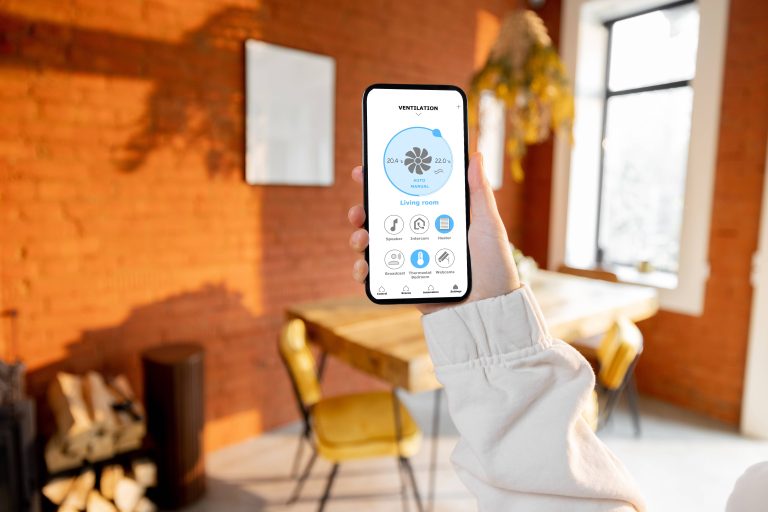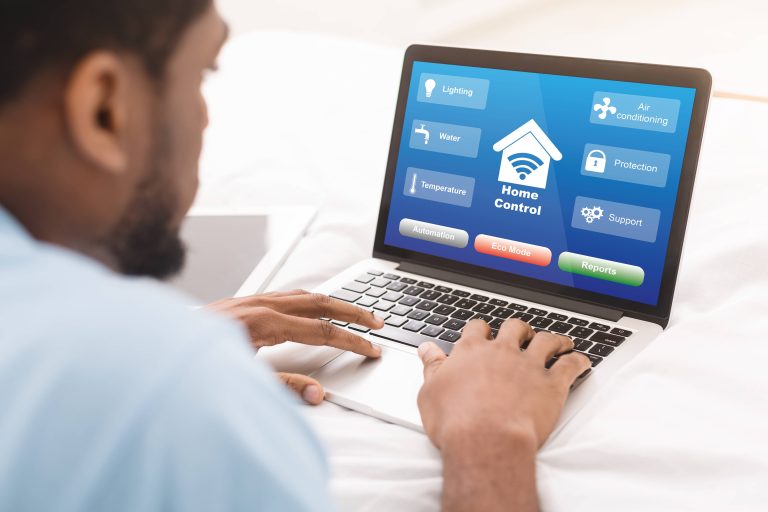
In today’s increasingly connected world, smart home devices have become more than just a trend—they’re a way to elevate the convenience, security, and efficiency of your living space. From smart thermostats to Wi-Fi-enabled lighting systems, these technological innovations allow you to create an interconnected environment that can cater to your every need. While the installation process might initially seem daunting, many smart home devices are designed with user-friendly installation in mind. With a bit of guidance and some easy-to-find tools, you can successfully integrate these devices into your home without breaking a sweat. This guide will walk you through the process of installing smart home devices on your own, empowering you to transform your abode into a futuristic haven.
Start with a Solid Plan
Before diving into installation, it’s critical to develop a plan. Assess your home and identify the areas where smart home devices can offer the most impact. Whether it’s enhanced security with a video doorbell, energy savings with a smart thermostat, or the convenience of voice-activated lighting, understanding your priorities is crucial. Additionally, set a budget and timeline for your upgrades. This will help you select devices that align with your financial constraints and the time you have available.
Gather Your Tools
While many smart devices come with everything you need for installation in the box, having a reliable set of tools on hand is always a good idea. A basic toolkit can include screwdrivers, a power drill, wire cutters, a voltage tester, and a level. Make sure your Wi-Fi network is robust enough to handle additional devices; consider investing in a Wi-Fi range extender if necessary.
Choose Compatible Devices
It’s not enough to just choose a handful of smart devices randomly; you want them to work seamlessly together. Research brands and products that are known for compatibility, whether they utilize Amazon Alexa, Google Assistant, or Apple HomeKit for voice control. Acquaint yourself with the apps associated with each device, as they are integral to managing your smart home systems.
Installing a Smart Thermostat
A smart thermostat is often one of the easiest yet most impactful upgrades you can make. Devices like the Nest Thermostat or Ecobee Smart Thermostat can regulate your home’s heating and cooling efficiently, saving you money over time. Here’s how to install one:
1. Turn Off the Power: Before you start, turn off the power to your heating and cooling system at the circuit breaker to ensure safety.
2. Remove the Old Thermostat: Detach the faceplate of your existing thermostat and unscrew it from the wall. Gently pull it away, making sure to disconnect and label the wires for future reference.
3. Install the New Base Plate: Follow the instructions that came with your smart thermostat to attach the new base plate to the wall. Use the level to ensure it’s straight before securing it.
4. Connect the Wiring: Reference the labels to connect the wires to the new base. Most smart thermostats have an easy-to-follow wiring guide.
5. Attach the New Faceplate and Restore Power: Snap the new faceplate onto the base plate. Finally, turn the power back on at the circuit breaker.
6. Set Up Your Device: Follow the app instructions to connect your smart thermostat to your Wi-Fi network and customize your settings.
Setting Up Smart Lighting
Smart lighting, such as Philips Hue or LIFX, is another easy-to-install option that can drastically enhance the ambiance and functionality of your home. Here’s a basic setup process:
1. Install Smart Bulbs: Simply remove your old bulbs and replace them with smart bulbs.
2. Configure the Smart Hub or App: If your system requires a smart hub, connect it to your Wi-Fi and follow the included instructions to integrate it with your bulbs. If your system is app-based, download the app and connect your bulbs directly.
3. Customize Lighting Scenes: Use the app to adjust the brightness, color, and schedule for your smart lights, syncing them with sunset, music, or even movie times.
Mounting a Smart Video Doorbell
Smart video doorbells, such as the Ring or Arlo, are great for boosting security and convenience. Here’s how to install one:
1. Charge the Battery: If your device uses a rechargeable battery, ensure it’s fully charged before installation.
2. Turn Off Power: If you’re wiring the doorbell, switch off the power to your existing doorbell at the circuit breaker.
3. Remove Old Doorbell: Detach your current doorbell and disconnect the wires. Take note of which wires are used for future reference.
4. Attach Mounting Bracket: Use a drill to attach the mounting bracket that comes with your smart doorbell. Make sure it’s level and secure.
5. Connect Wiring (Optional): If hardwiring, connect your home’s doorbell wiring to the smart doorbell, following the manufacturer’s instructions.
6. Mount the Doorbell: Secure the doorbell to the bracket using the appropriate tools.
7. Power On and Sync: Restore power, then use the app to connect the doorbell to your Wi-Fi and set it up accordingly. You can adjust motion detection settings, notifications, and more.
Finishing Touches and Troubleshooting
After installation, test all devices to ensure they are functioning correctly. Check for firmware updates that can enhance device capabilities and install them as needed. Don’t hesitate to reach out to community forums or manufacturer support if you encounter issues. Many users find these resources invaluable for troubleshooting.
In conclusion, installing smart home devices not only boosts your home’s functionality but also offers a rewarding DIY project. By planning accordingly and following this guide, you’ll ensure a smooth and successful installation process. Get ready to enjoy all the benefits that come with taking your home into the smart age.


